

 Euro (EUR)
 USA (USD)
 AUD (AUD)
 CAD (CAD)
 UK (GBP)
 Chinese Yuan (CNY)
 Hong Kong Dollar (HKD)
 Swedish Krona (SEK)
 South African Rand (ZAR)
 Norwegian Krone (NOK)
 Israeli New Sheqel (ILS)
 Brazilian real (BRL)
 United Arab Emirates dirham (AED)
 Swiss franc (CHF)
Kurouchi, nashiji, kasumi, tsuchime, kitaeji… The finish is the first thing you see on a Japanese knife, and the name is often in the listing title. Here I explain the finishes on the knives I sell: what they are, how they are made, how they change with use and how to look after them. With photos from knives that went through my hands.
The finish is only the outside of the blade. It does not change how sharp the knife is.
Want rustic and low care → Kurouchi or Nashiji.
Want the classic Japanese look you can polish yourself → Kasumi.
Want something special to look at → Kitaeji / Damascus or a Honyaki with hamon.
What a finish is (and is not)
Most Japanese knives are clad: a hard steel core for the edge, with softer iron or stainless on the outside. The finish is how the smith leaves that outside. Black from the forge, rough, polished on stones, hammered, or folded in layers.
The edge is the same hard steel in all of them. So the finish does not make the knife cut better or worse. What the finish changes is the look, how much care the blade needs and how easily scratches show.
Food release is also not about the finish. Dimples or a rough surface don’t stop food from sticking. What does is the geometry of the grind: how thin the knife is behind the edge and how the blade face is shaped.
The finish is also a question of work. Kurouchi is the least work for the smith. A real hand kasumi or a honyaki polish on natural stones can take days. That is part of why the same knife shape can have very different prices.
The finishes
|
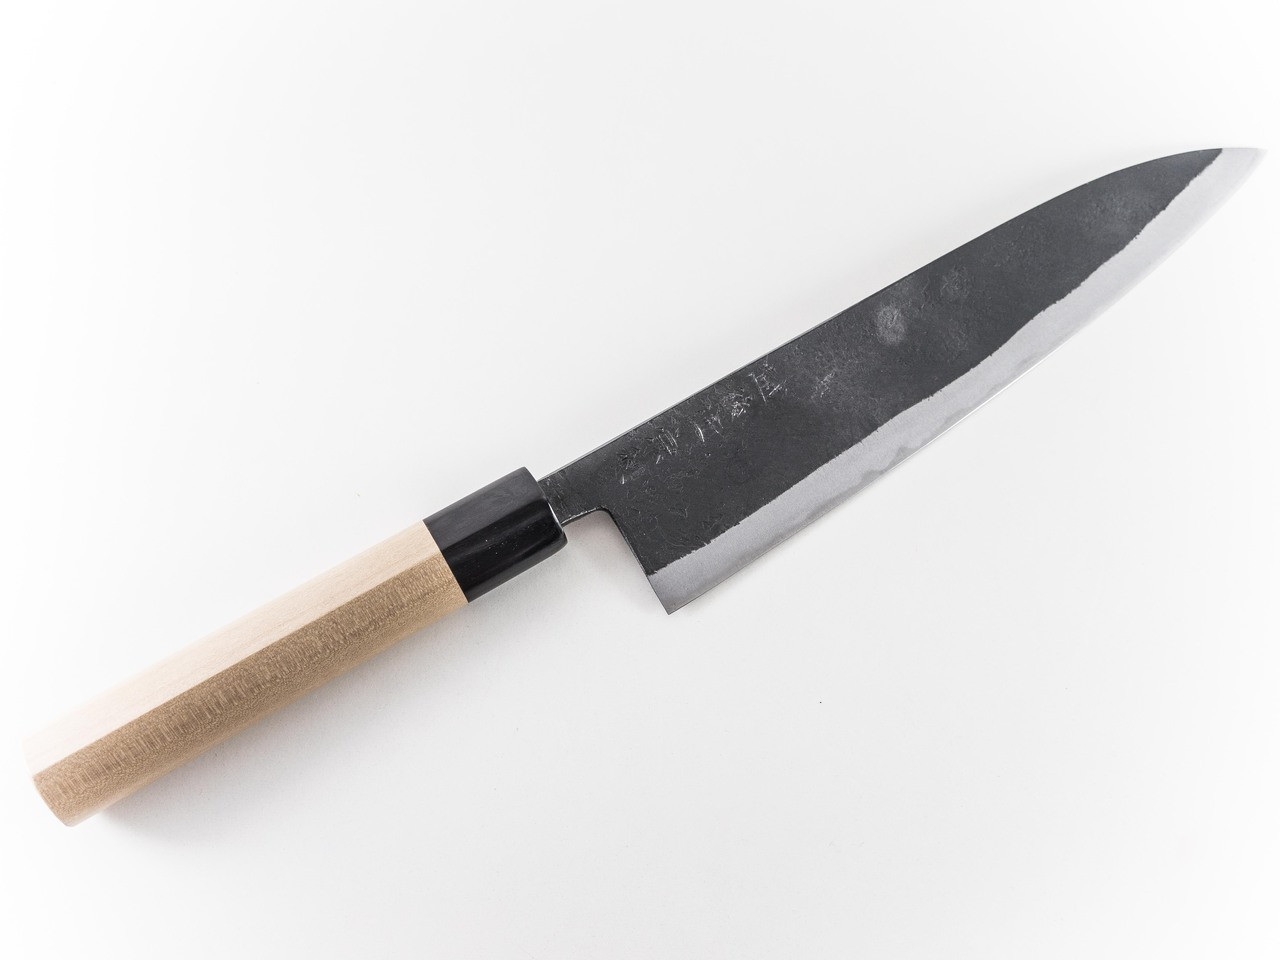
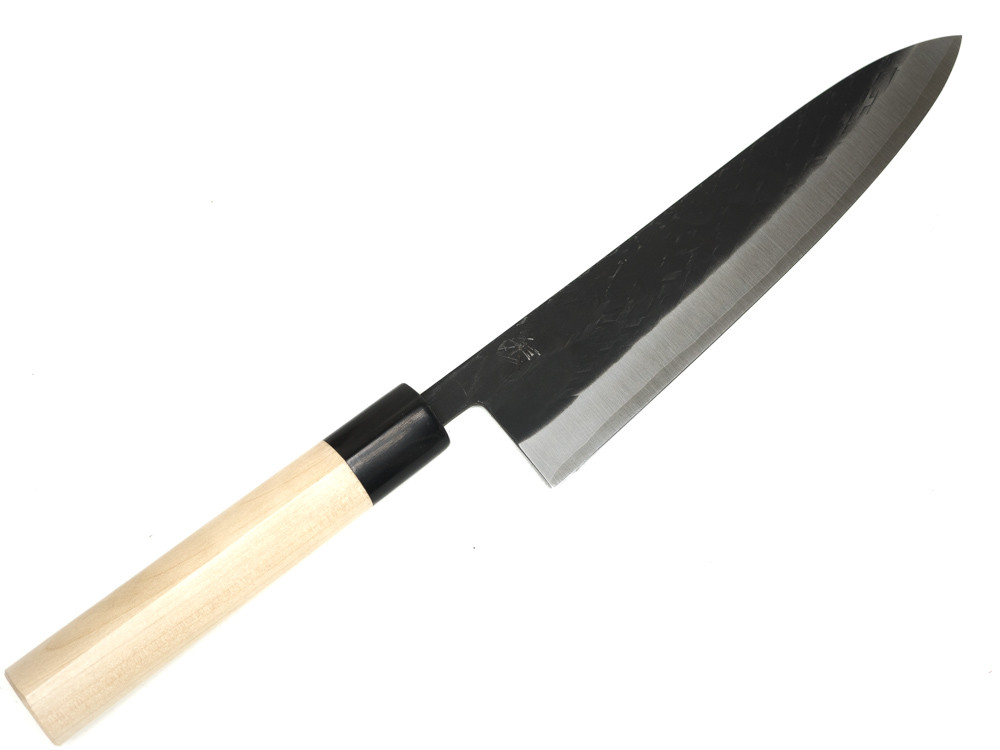
Kurouchi (黒打ち, “black forged”) The black forge scale is left on the blade. Rustic, honest, less work. When the smith forges and heat treats the blade, a black oxide layer grows on the surface. On a kurouchi knife the smith only grinds the bevel and leaves the rest black. You can see the hammer and forging texture under it. The black layer protects the upper part of the blade a little against rust, and it hides small scratches. Good to know: the black wears off slowly with use and washing. That is normal and part of the look. Don’t scrub it with abrasive pads. The polished bevel under it is still carbon or iron, so dry it after use. At JNS: Munetoshi (the best example of kurouchi I carry) · Shigefusa |
||
|
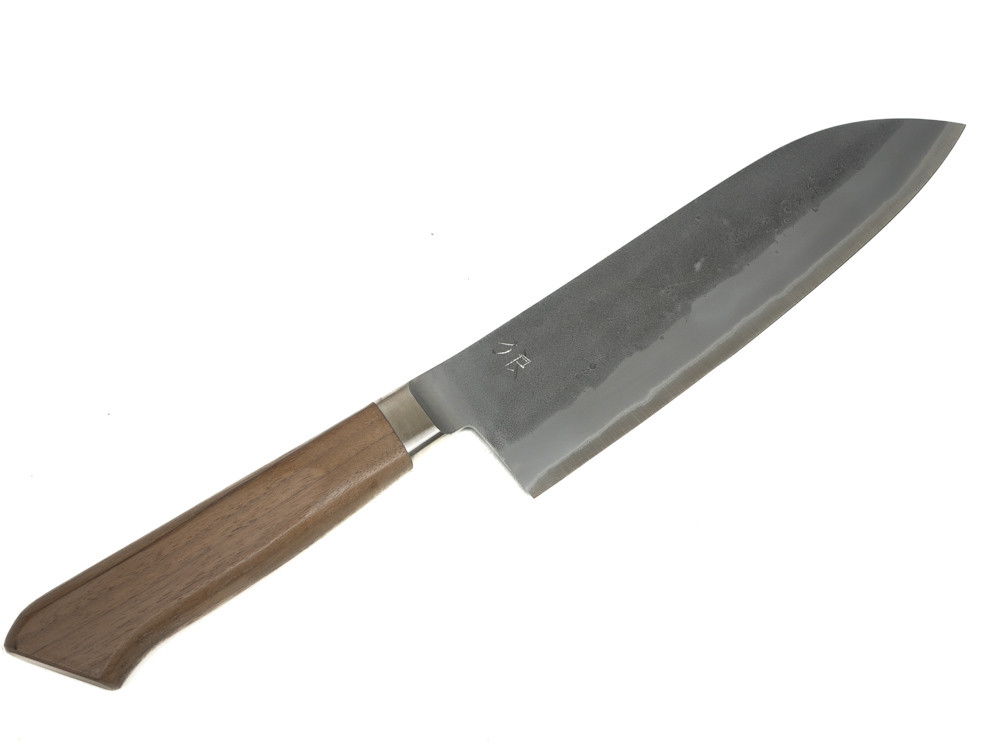
Nashiji (梨地, “pear skin”) A matte, grainy surface like the skin of a Japanese nashi pear. Between kurouchi and polished. The forge scale is mostly taken off and the surface is left rough and matte, often dark grey. Sometimes you see it together with kurouchi at the spine (kurouchi nashiji). The grainy surface hides scratches very well. Good to know: very easy to live with. It gets a nice patina over time. When you thin the knife on the stone, the area you grind becomes shiny, so the nashiji slowly moves up from the edge over the years. At JNS: Tadafusa (the best example of nashiji I carry) · Tanuki |
||
|
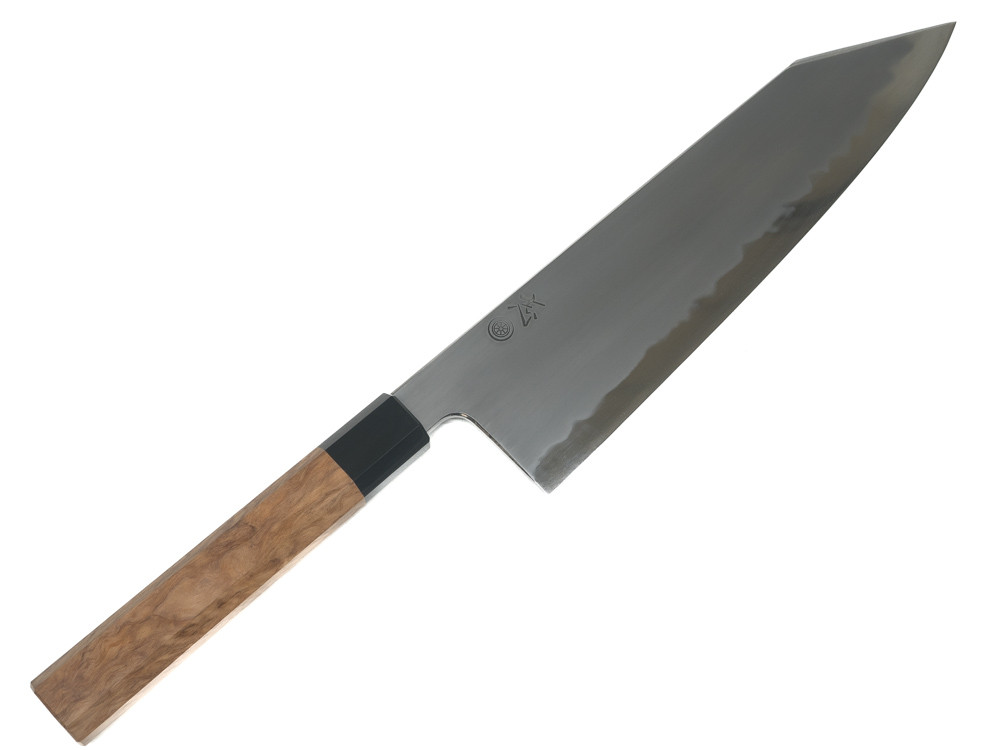
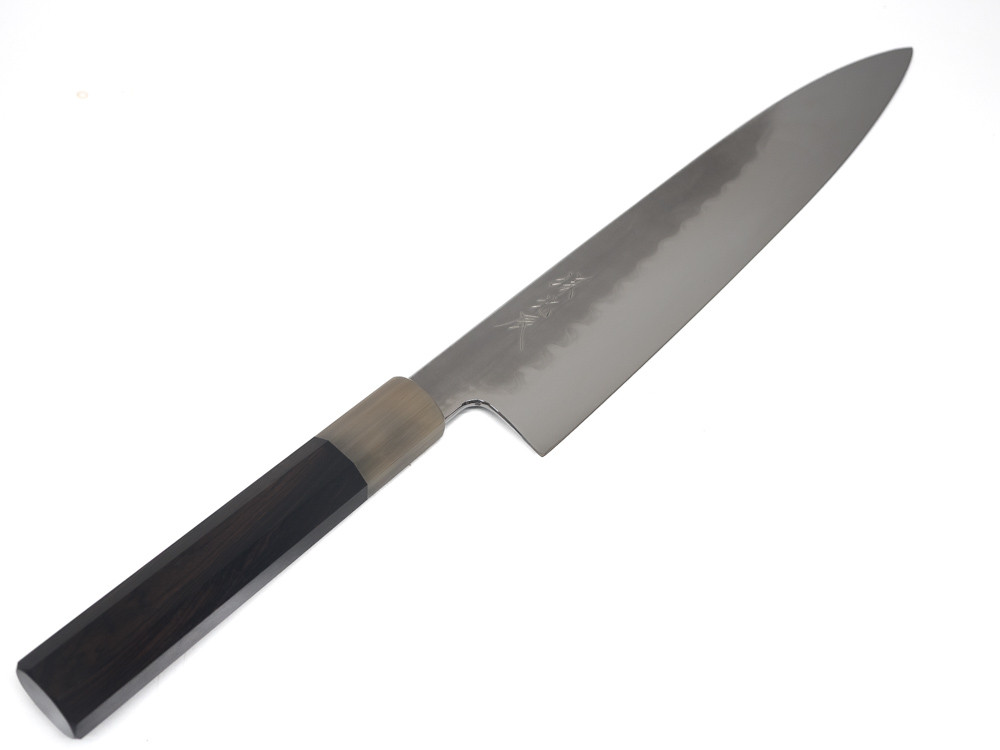
Kasumi (霞, “mist”) The classic Japanese finish. Soft iron goes misty, the hard steel shines. The soft iron cladding turns cloudy and grey like mist, and the hard steel core at the edge stays brighter. Between them you see the kasumi line, the place where the two are forge welded. A good kasumi shows you how the knife is made. There are two ways to get it. A kasumi can be sandblasted, which is fast and gives an even matte look. It also hides unevenness and scratches on the blade. The best is a hand finish on natural stones, ending with Uchigumori finger stones. That gives the iron a deep, soft mist and makes the kasumi line clear. This is how I finish my own JNS Kokorozashi knives in the workshop. Good to know: scratches from cutting boards and sharpening show more than on kurouchi. The good news: you can bring kasumi back yourself with a natural stone and Uchigumori finger stones, but only if the knife is not sandblasted. At JNS: JNS Kokorozashi (Uchigumori finish by me) · Shigefusa · Toyama |
||
|
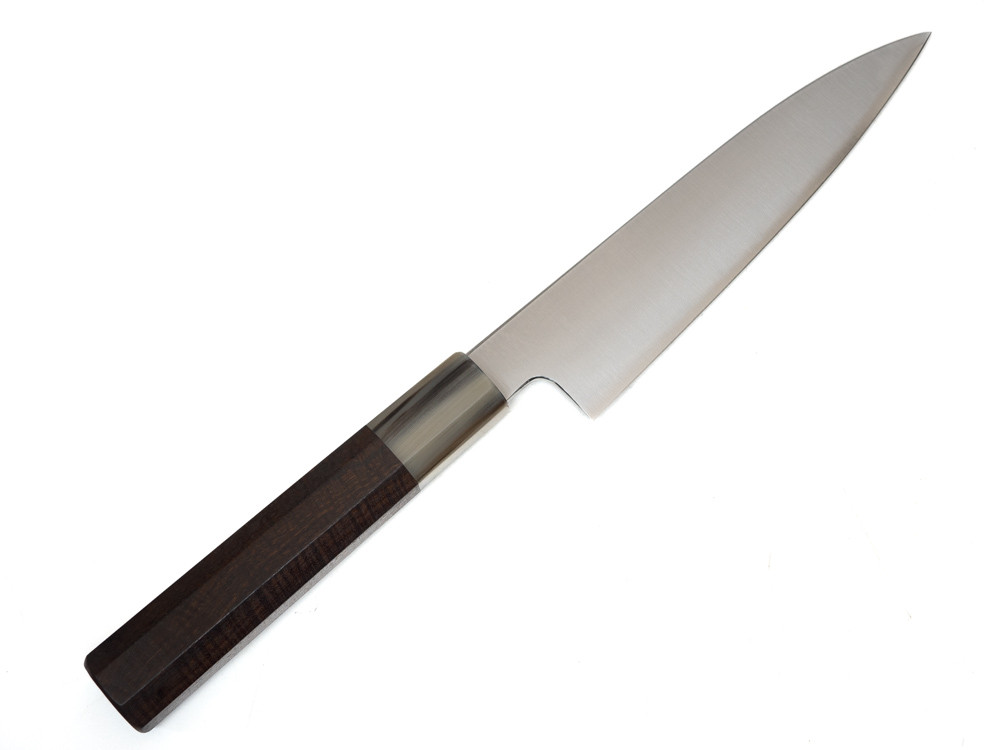
Migaki and mirror polish (磨き, “polished”) A bright, clean polish. Satin or all the way to mirror. Migaki means the whole blade is polished bright. It can be a satin shine or a full mirror. It looks clean and elegant and is easy to wipe clean. You don’t see the kasumi line as much as on a stone polish. Full mirror is mostly seen on high end single bevel knives and honyaki. Good to know: every small scratch shows on a bright polish. It will not stay perfect when you use it, and that is fine. A mirror is very hard to bring back at home. Most people let it turn into a soft satin with time. At JNS: Yoshikazu Tanaka |
||
|
Tsuchime (槌目, “hammer marks”) Hammer dimples on the upper part of the blade. After forging, the smith hammers a pattern of dimples into the side of the blade with a round hammer. It is for the look. It shows the knife is hand forged. Many people think the dimples stop food from sticking. They don’t. Food release comes from the geometry of the grind. You see tsuchime on kurouchi, nashiji and polished knives. Good to know: easy care, hides scratches well. Like nashiji, the dimples slowly disappear from the edge up when you thin the knife over many years. |
||
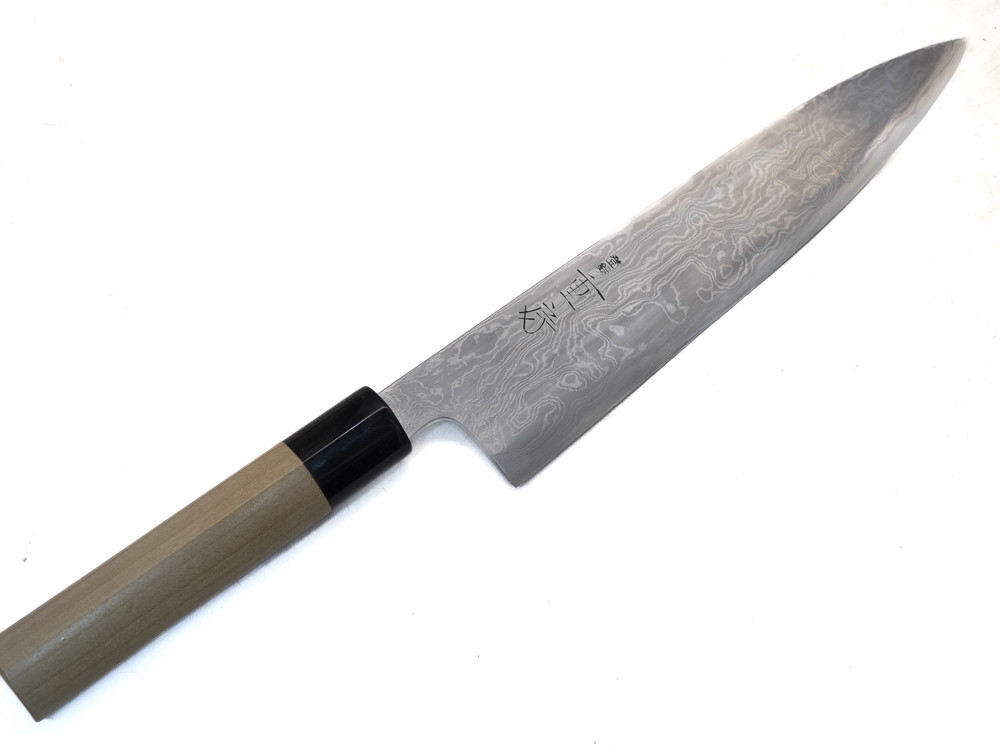
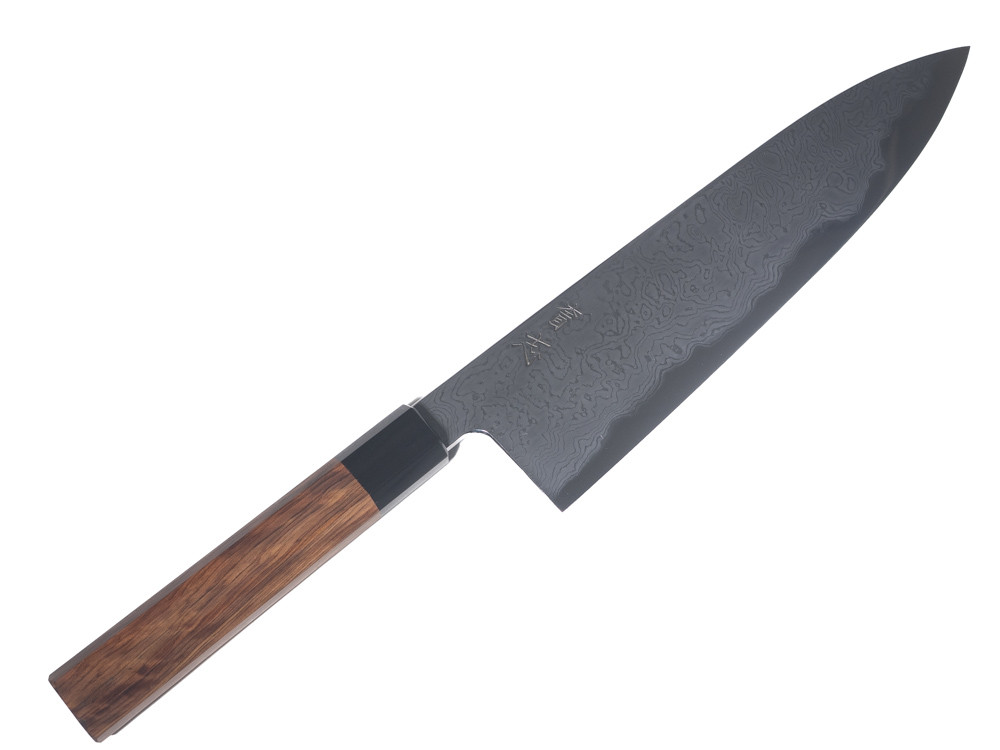
Kitaeji, Damascus, Tamamoku, Suminagashi One finish, many names. Folded layers in the cladding that show a pattern. The cladding is forged from layers that are folded many times. When the blade is polished, the layers come out as a pattern, often like wood grain or flowing water. It is the same idea whatever the name on the listing:
On a clad damascus knife the core steel at the edge is the same as on a plain clad knife, so it cuts the same. The pattern is about the look and the work behind it.
Damascus without cladding. Damascus can also be made with no cladding at all. The whole blade is folded steel and it is hardened like a honyaki, with clay and a hamon. These are rare and a bit special. My JNS x Wakui Dama Honyaki are made like this: damascus steel by Achim Wirtz from 125SC and C80 with 180 layers, forged and water quenched with a hamon by Wakui, then sharpened, polished and etched by me. Good to know: when you sharpen and thin, the pattern gets lighter where you grind. Treat it like kasumi: polish on natural stones and finger stones and the pattern comes back, often even nicer. Never sand the sides. You will only make it grey. At JNS: Shigefusa · JNS Kokorozashi · Toyama · Yoshikazu Tanaka · JNS x Wakui Dama Honyaki |
||
|
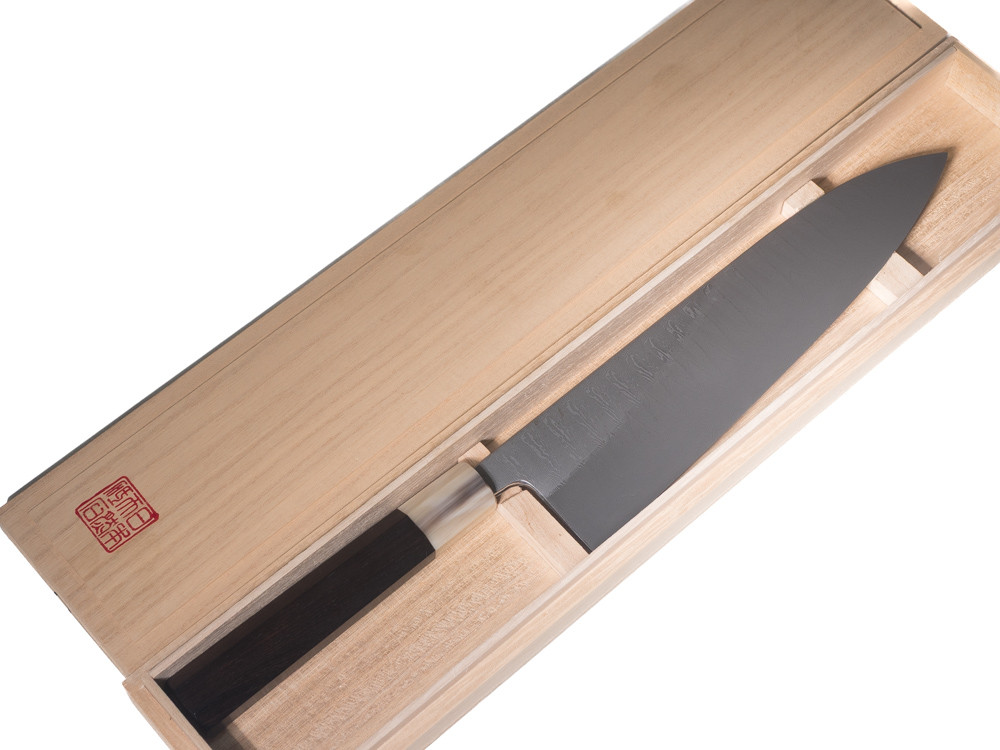
Honyaki (本焼) and hamon (刃文) One steel, quenched with clay like a Japanese sword. A honyaki has no cladding. The whole knife is forged from one piece of high carbon steel, often White 1 or White 2. Before the heat treatment the smith paints a clay mix on the blade: thick on the spine, very thin at the edge. Then the blade is heated and quenched, in water (mizu honyaki) or oil (abura honyaki). This is the same way Japanese swords are made. Under the thin clay the edge cools very fast and gets very hard. Under the thick clay the spine cools slower and stays softer and tougher. The line between the two is the hamon, and every one is different. The water quench is very risky, blades can crack or warp, and even master smiths lose some. That is why honyaki is rare and expensive. How much of the hamon you see depends on the polish:
Good to know: the whole blade is hard steel, so sharpening and polishing take more time than on a clad knife. Be careful with twisting and hard food. A honyaki edge is hard but not forgiving. At JNS: Ikeda White 1 honyaki · Toyama · Munetoshi |
Quick comparison
| Finish | Look | Scratches show | Care | Refresh at home |
|---|---|---|---|---|
| Kurouchi | Black, rustic | Very little | Easy | Not needed |
| Nashiji | Matte, grainy | Very little | Easy | Not needed |
| Kasumi | Misty iron, bright edge | Yes | Medium | Yes, if not sandblasted |
| Migaki / mirror | Bright, clean | A lot | Medium | Hard |
| Tsuchime | Hammer dimples | Little | Easy | Not needed |
| Kitaeji / Damascus | Layered pattern | Yes | Medium | Yes, natural stones |
| Honyaki | Hamon | Yes | More care | Yes, takes time |
Care means the finish only. Carbon steel and iron will rust whatever the finish, so always wipe the knife dry.
Keeping the finish nice
- Wipe the knife dry after use. Iron and carbon steel will get a patina. That is normal and it protects the blade.
- Never use sandpaper, scouring pads or metal polish on the sides. It kills kasumi, damascus and kitaeji in a minute.
- Small rust spots: take them off early with a cork and a little fine abrasive, gently and along the blade.
- Kasumi, kitaeji and honyaki can be polished on a natural stone and finished with Uchigumori finger stones. It is very satisfying work.
- When you thin the knife, the finish near the edge changes. That is how a well used Japanese knife should look.
Read more
- Polish kasumi yourself → Kasumi on Hard Jnats
- Hazuya and jizuya work → Finger Stones: How To
- Steel under the finish → Japanese Knife Steels
- Which knife shape → Japanese Knife Types
- The makers I carry → About Our Knives
Questions about a finish or a specific knife? Send me a message on WhatsApp or email.